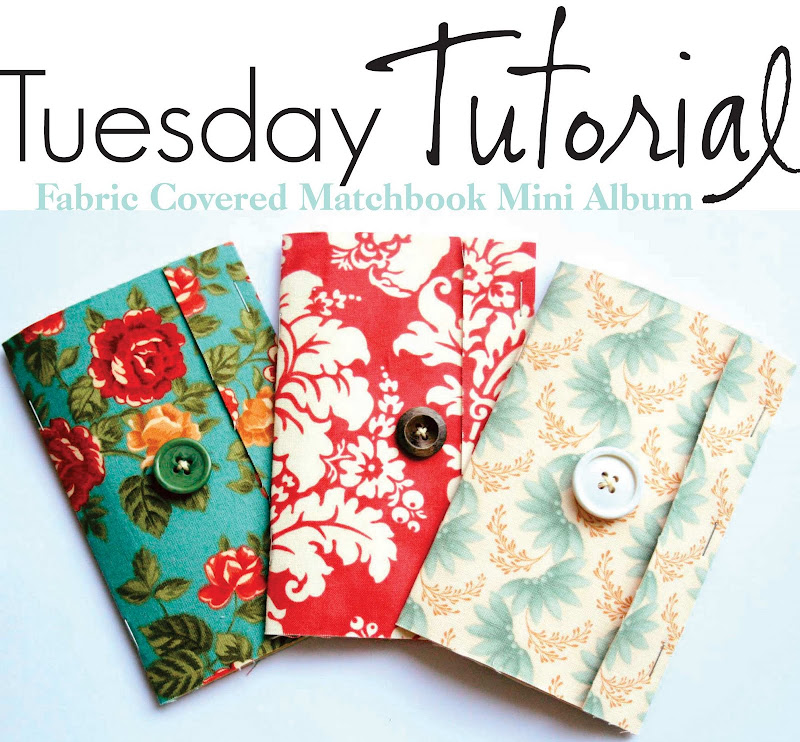
 DO IT YOURSELF Fabric Covered Matchbook Mini Album. I had so much fun making and developing these cute little mini albums/journals. Made from a file folder, these little albums are similar to matchbook notepads, just a lot bigger. You can make three albums from one file folder, so it's easy to make a bunch at one time. These would be perfect for jotting a note and sending to a friend or loved one, or for making a super short album.
Want to make your own?
Supplies:
+ One regular size file folder
+ Paper for inside pages
+ Fabric scrap (at least 5.75" x 8.5")
+ Button, needle and thread (optional, purely your preference if you would like a button embellishment on the front)
+ Stapler
+ Spray adhesive
+ Library card or credit card (to smooth out fabric)
+ Rotary Cutter, ruler and cutting mat


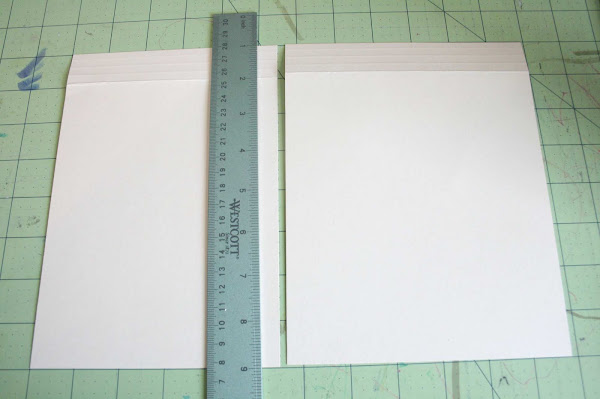
Next, open the file folder and cut 6" off of the right side, so you will have one piece that is 6" x 11.75" with no creases, and another piece that is 8" x 11.75" with a crease on one edge (this was the middle of the file folder, where it folds). Set aside the 6" x 11.75" piece (you can use this later to make another album).
 Now, cut the file folder again, along the long side, so that you have two pieces. One piece will be 5.5" x 8" and the other will be 6.25" x 8". Cut the larger piece again so that you have two pieces that are both 5.5" x 8" (see pictures below). You can set one piece aside here also, so you can make another album with this piece later on.
First cut:
 Second Cut:
 Now, trim your "inside pages" to 5" x 6.5". I used three sheets of paper.
Now it's time to adhere the fabric to the file folder. This will be the album cover. Put down some newspaper to protect your working surface and make sure you are in a well-ventilated area (or outside). Using the same method as was used in this tutorial, adhere the fabric to the file folder.

Trim off the excess fabric.

Using a bone folder or end of a pen, make a score 3.5" from the edge of the album cover, down the middle of the long side (see picture).

Next, trim off 1/2" from the short side of the album cover, on the OPPOSITE side from the crease.

Now, line up the pages to the crease on the inside of the album cover.
 Holding the pages in place, use a stapler to staple the pages along the crease.
When closed, the edge of your album will now look like this:

Now you need to put three staples along the short crease. Be careful to staple it close enough to the edge so that your pages don't get caught in the staples. Almost finished! :)

If desired, it's now time to sew the button onto the front cover. I made four pin pricks as a guide to where the button should be sewn on.

And now you're finished! Voilà! A Fabric Covered Matchbook Mini Album!


